|
|
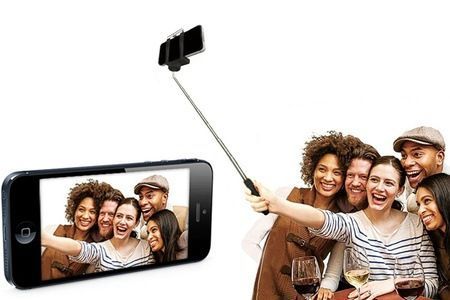
Do you love taking selfies but tired of bending your arm or taking multiple bad shots of cutting someone out? Take a look at this guide which will show you step by step on how to take some amazing selfies with not much efforts at all!
#1. Unbox & Charge Your Selfie Stick
|
|
Buy Monopod Extendable Selfie Stick With Bluetooth For Just Rs.268
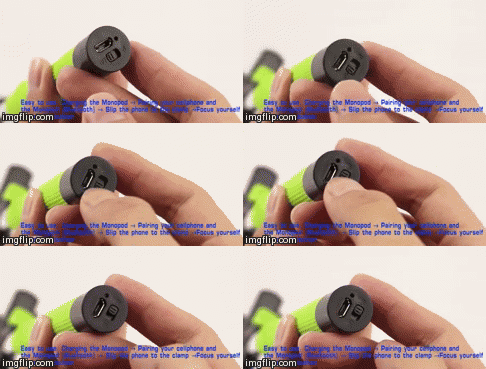
a. The selfie stick comes with a micro-USB cable. Connect it to the stick.
b. Connect the USB cable to your computer or a mobile phone USB cable charger.
c. Within one hour or so (depending on the power of the stick) it should have a full battery charge & ready to roll.
#2. Switch On Your Selfie Stick
a. Just slide power switch from the “OFF” position to the “ON” position (located at the bottom of your Selfie Stick).
b. Look at your status LED which will be flashing BLUE that indicate it's powered on and broadcasting a bluetooth signal.
Buy Monopod Extendable Selfie Stick With Bluetooth For Just Rs.268
#3. Insert Your Mobile Phone To Selfie Stick
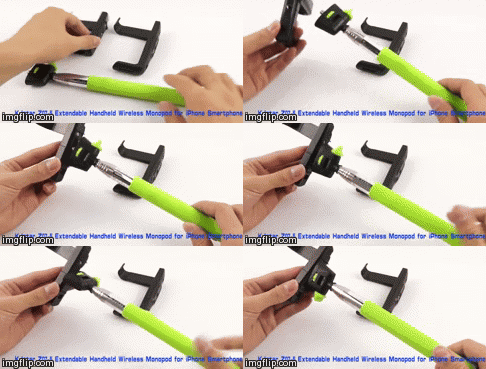
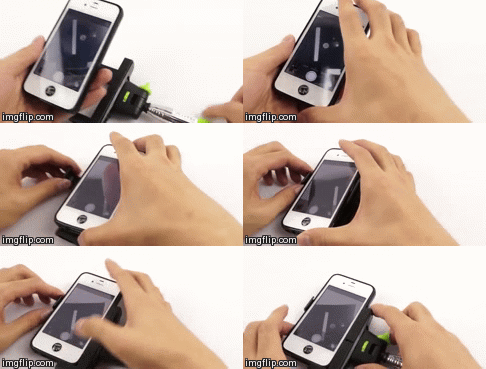
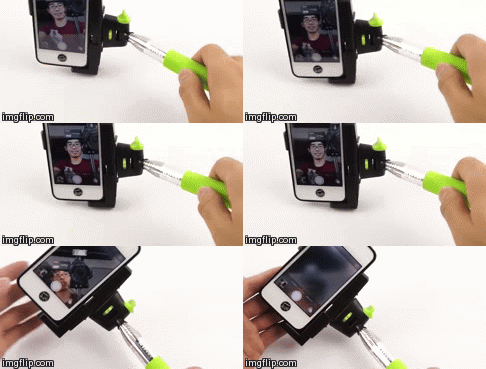
a. Carefully pull the metal Selfie Stick bracket away from the Selfie Stick.
b. With the bracket open, place your phone in the bracket. Gently release the Selfie Stick bracket so your phone is tight and secure.
Buy Monopod Extendable Selfie Stick With Bluetooth For Just Rs.268
#4. Pair Your Selfie Stick To Your Phone
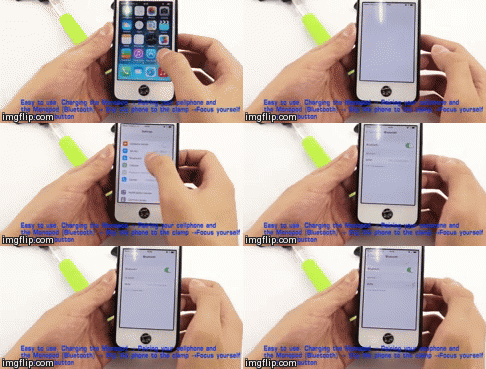
a. With the Selfie Stick in pairing mode (BLUE LED flashing), go to your cell phone’s bluetooth device list.
b. Select “SELFIESTICK” to connect your phone or bluetooth device to Selfie Stick.
Buy Monopod Extendable Selfie Stick With Bluetooth For Just Rs.268
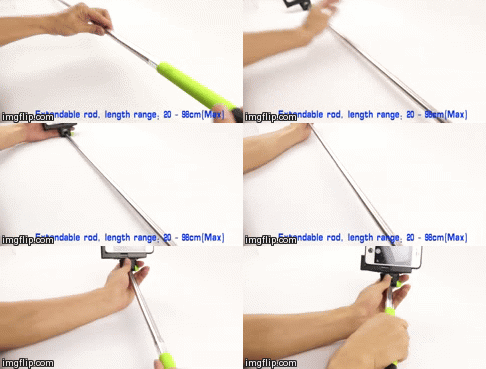
#5 Extend the stick
Place one hand on the Selfie Stick and the other hand on the Selfie Stick bracket, pull apart. This selfie stick can extend up to 41 inches.
Buy Monopod Extendable Selfie Stick With Bluetooth For Just Rs. 268
#6. CLICK - And now you are ready to click some amazing selfies.
|
|
Buy Monopod Extendable Selfie Stick With Bluetooth For Just Rs.268


this